

My son just turned 1 a few weeks ago and I did a DIY 1st birthday photoshoot at home and loved the results! I’m sharing five easy tips and recommendations on getting the best shots for your toddler. It is possible to save money and have fun even if you’re not a professional photographer. All you will need is patience, a phone, props, good lighting and a great attitude.
Five easy tips and recommendations for at home photoshoot
- Lighting: Lighting is everything when it comes to photos so my number one tip is to take photos with the best natural lighting (you might have to also adjust the location of the photoshoot or use LED studio lights to optimize lighting). I did my photoshoot in my son’s nursery because his windows bring great lighting.
-
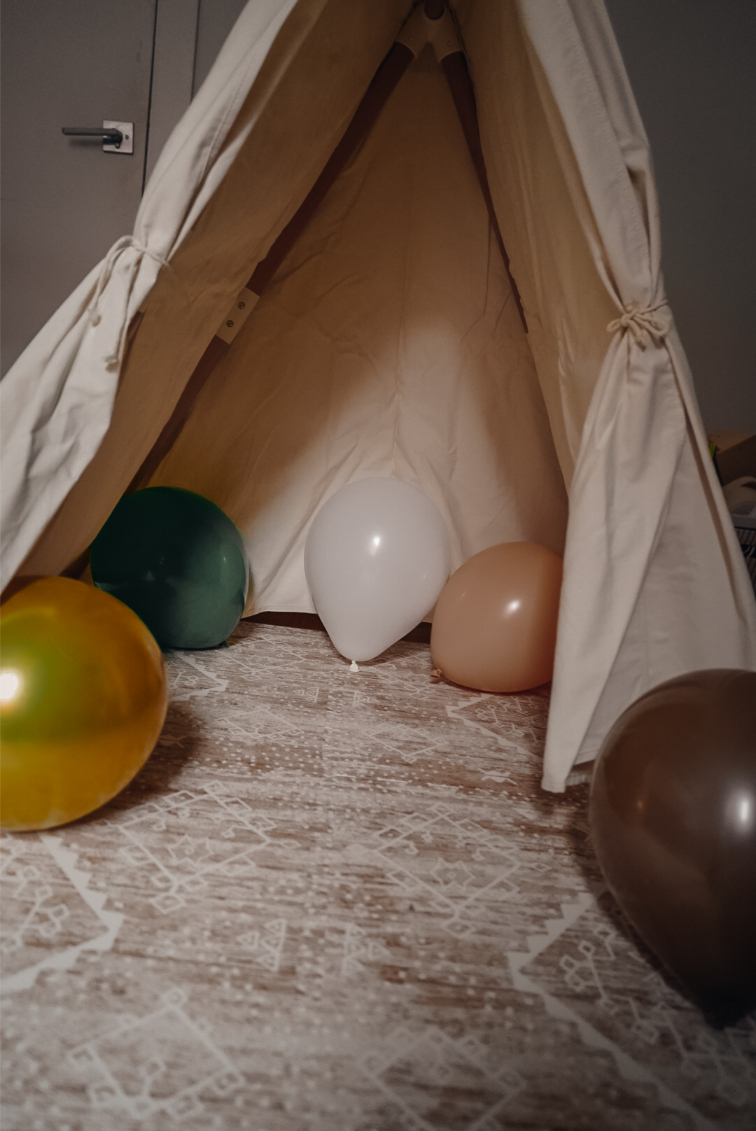
- Choose the perfect backdrop: The backdrop will essentially be the theme and focus of your photoshoot. You don’t need to have a fancy backdrop. In fact, the simpler it is, the better it will be.
buy amoxil online in the best USA pharmacy https://yogagoaindia.com/wp-content/uploads/2025/08/png/buy-amoxil.html no prescription with fast delivery drugstore
It can honestly be a plain wall, a lawn or even a bedsheet/cloth. Just make sure whatever you choose doesn’t have any distractions that you wouldn’t want in the frame.
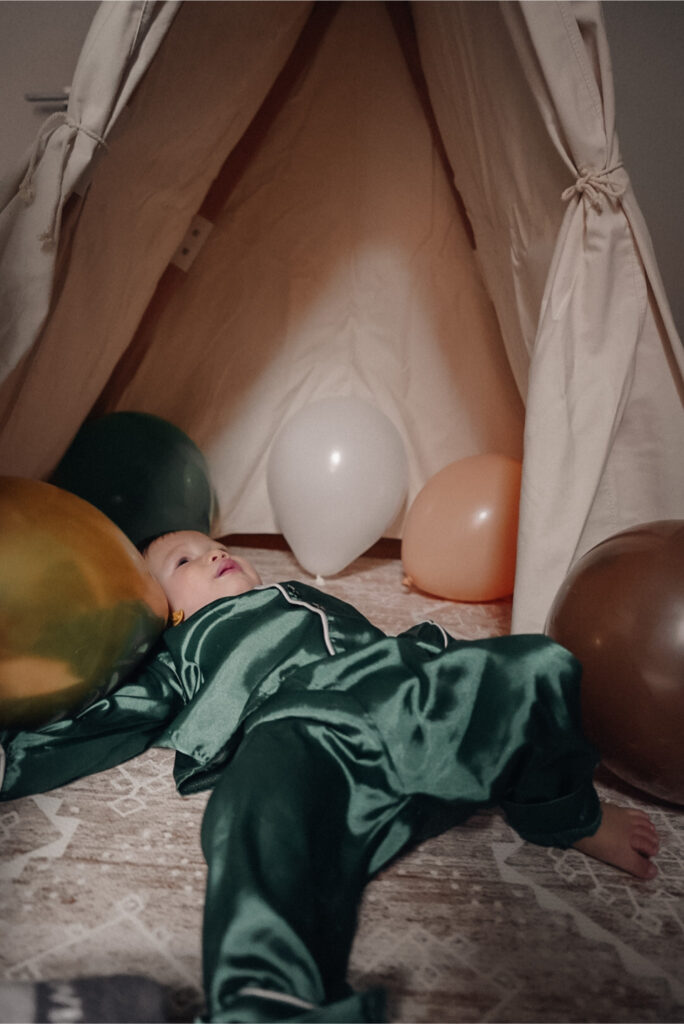
order diflucan online in the best USA pharmacy https://health.rxbuyonlinewithoutprescriptionrx.net/order-diflucan.html no prescription with fast delivery drugstoreI actually used Lalo’s Playtent because it was gifted to him for his first birthday and thought it would make for cute photos.
-
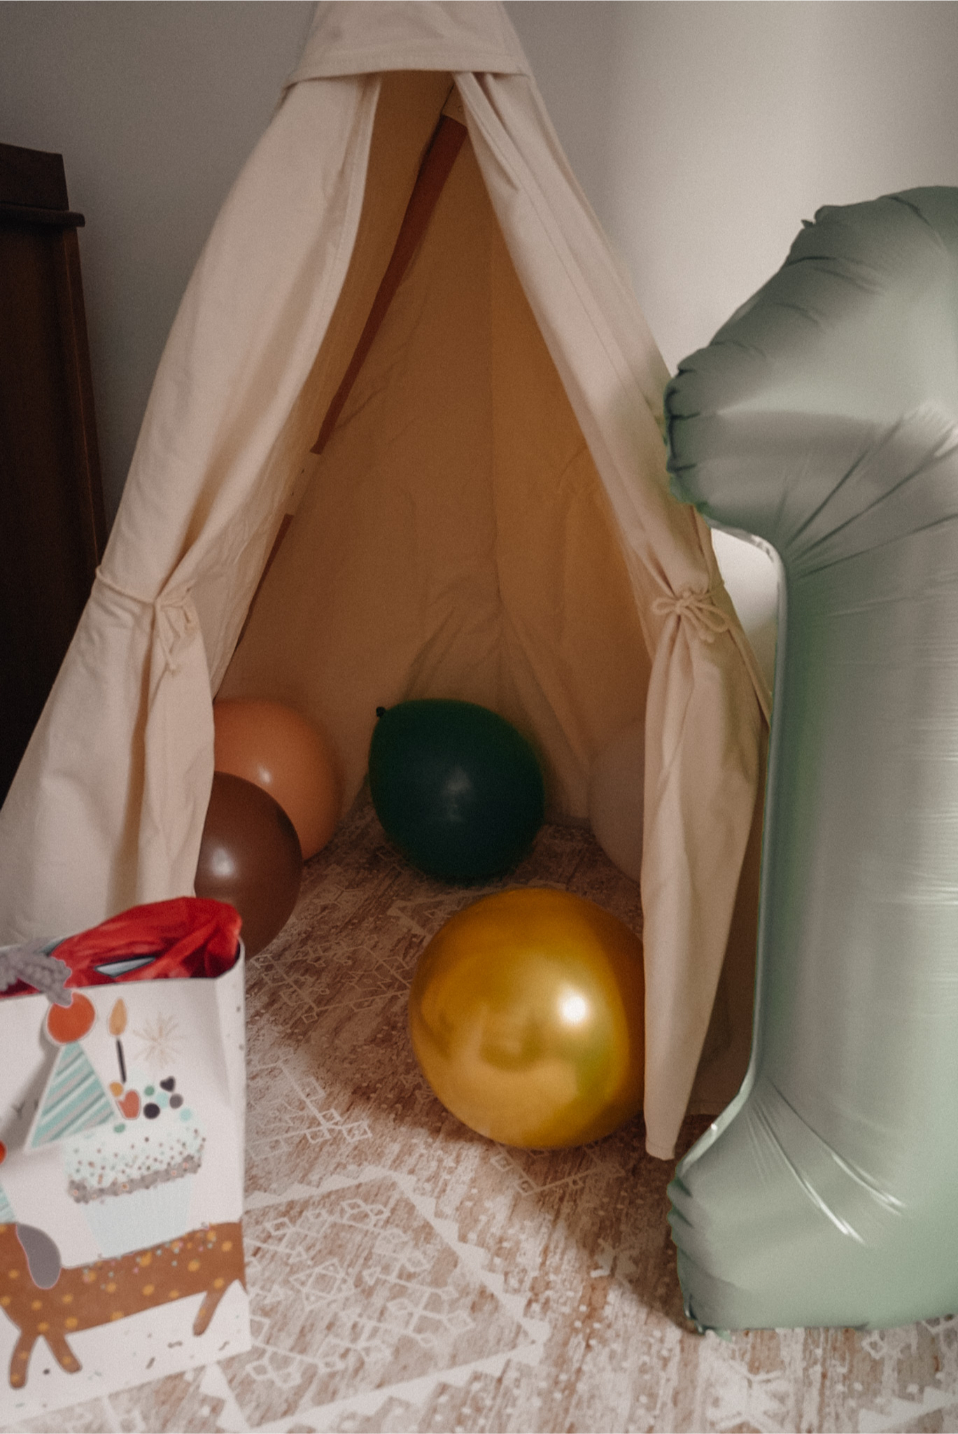
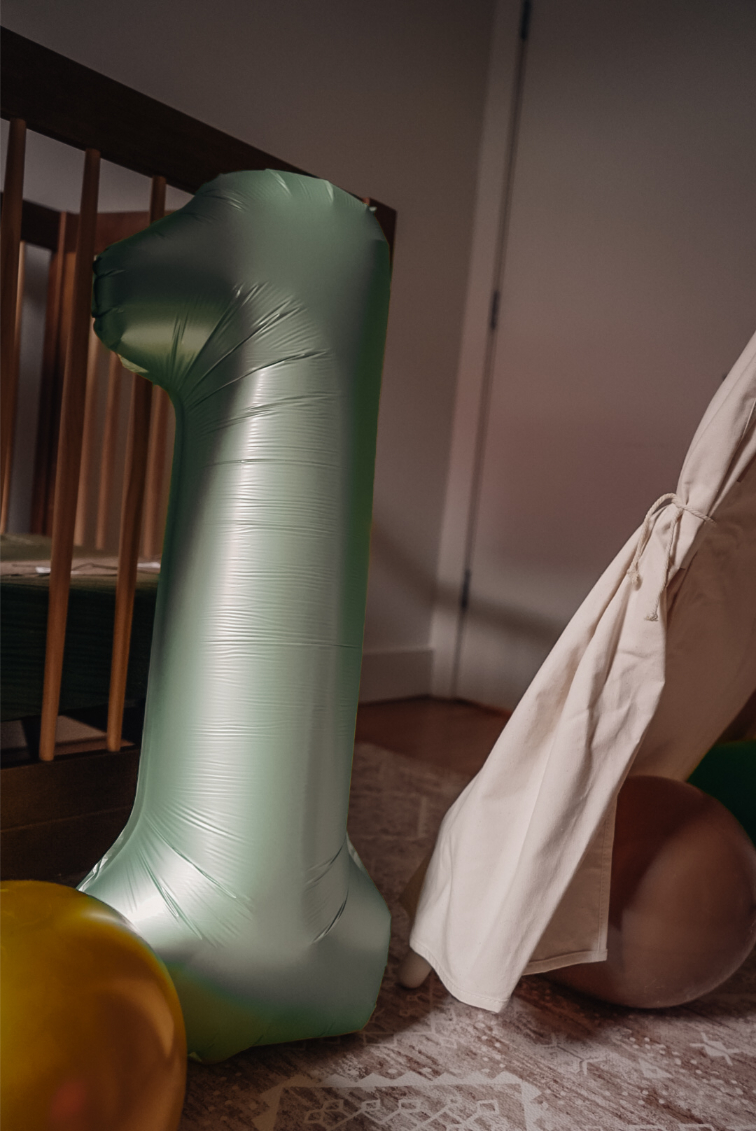
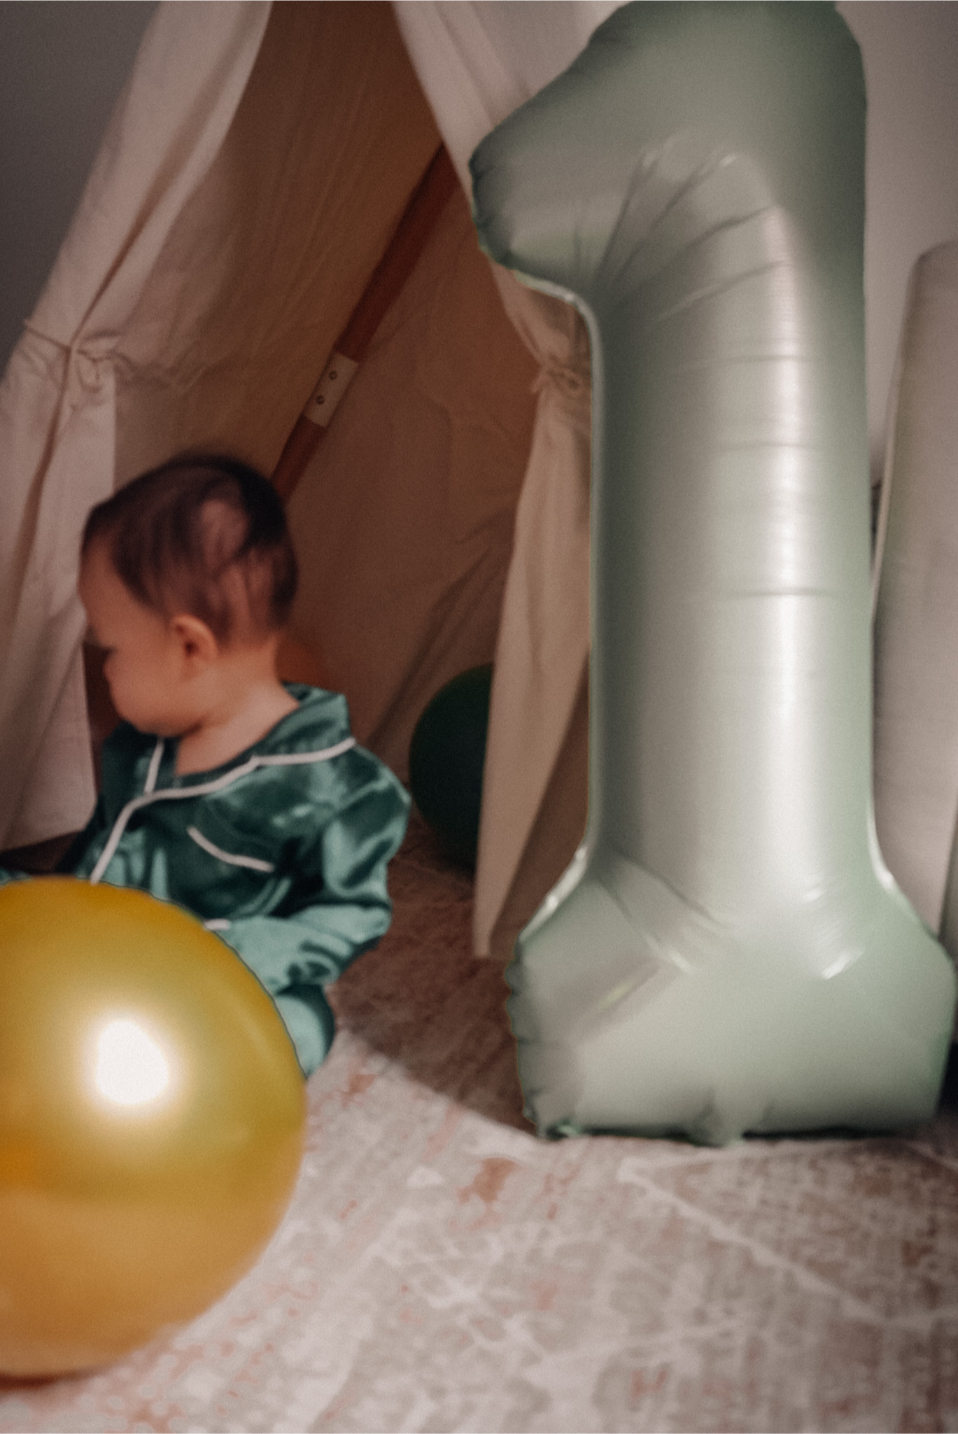
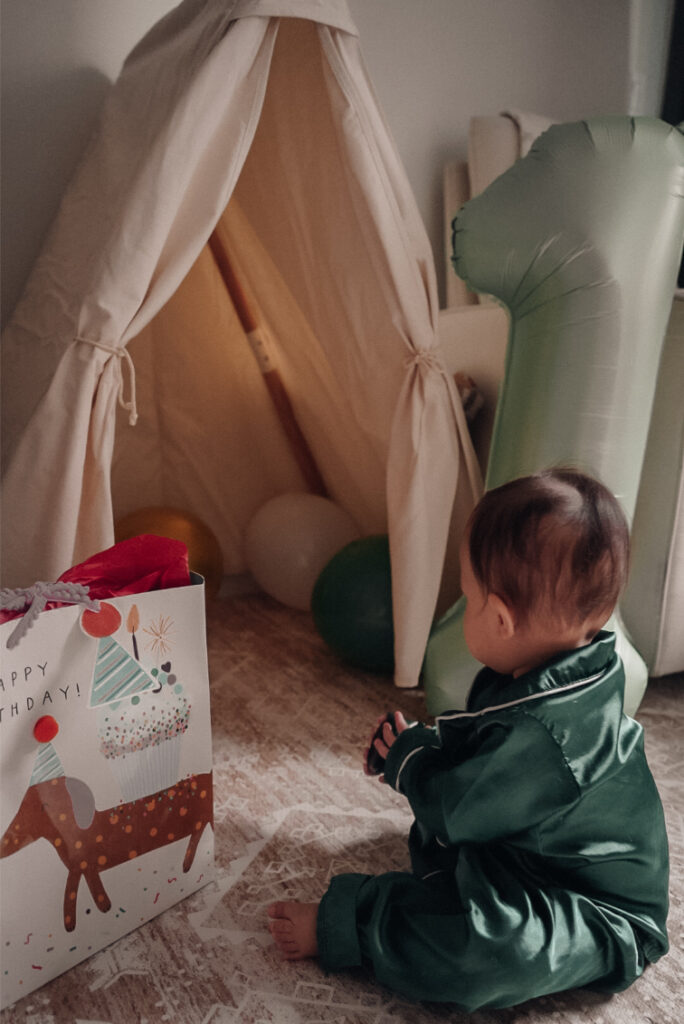
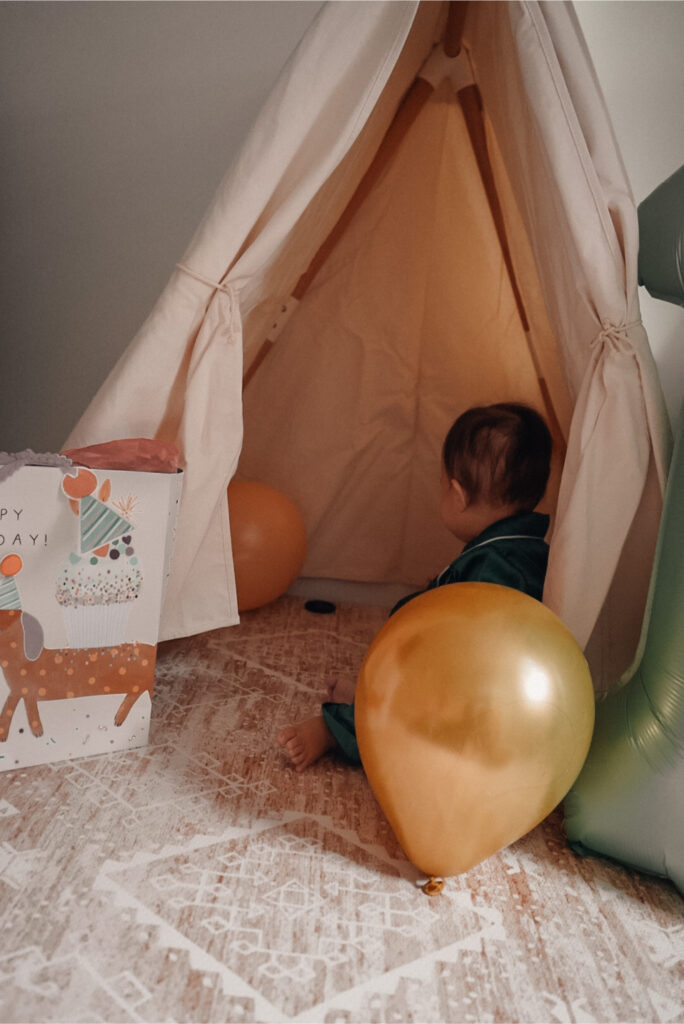
- Get some props: Props are a great way to add some fun into the photoshoot. Balloons are always an easy and great idea and kids love them! I highly recommend getting the large number 1 balloon. I loved the sage color because it went with the theme of my son’s photoshoot. However, you can also get different colors in silver, gold, pink, etc on Amazon. (I also repurposed this for my son’s birthday party and two weeks later, the balloon is still going strong and hasn’t inflated!
order zanaflex online in the best USA pharmacy https://health.rxbuyonlinewithoutprescriptionrx.net/order-zanaflex.html no prescription with fast delivery drugstore
) I also used some of the balloons from the garland kit for his birthday so he can play with them during the shoot. Other great prop ideas would be birthday gifts or bags, ONE BOX decor, ONE birthday hat, Happy Birthday Banner, and LED Number One. The best part is that you can reuse this for a birthday party or baby shower. I would recommend choosing 1-2 props but nothing more as you want the focus to be on your little one.
-
- Choose baby outfit: Choosing an outfit is the fun part! Just keep in mind that you want your little one to be comfortable. You can definitely opt to just have them in a diaper. I would recommend also trying the outfit beforehand. This ensures that they can still move around, so nothing too itchy or tight. My son actually just wore his pajamas because I knew that it was comfortable. It also went with the green theme of the photoshoot, so it was a win win for us.
- Time it when they’re in a good mood: You can do all the above, but if your baby is in a bad mood, then chances are your photos won’t come out as great as you’d hope. Most babies/ toddlers are alert earlier in the day so I would suggest doing it in the morning after they’re fed and changed. I also had snacks at hand and my son’s favorite toys for distraction.
The key to getting the best photos is patience and honestly taking a million shots because you’ll eventually get a few money shots.
I took over 300 photos and I didn’t think any of them were good until I reviewed them afterwards. Having a DIY 1st birthday photoshoot isn’t easy but it is possible and it is fun. Definitely give it a try and the experience will also make for a great memory!
2 comments
Such a cute idea!
Jennifer
Curated by Jennifer
This is so fun and cute. Can’t wait to do that as well when I have kids.
http://www.fashionradi.com